
Trade Secrets: Everything You Need to Letter Press at Home
The highs, the lows, and — if I may say so myself — the absolutely stunning outcome.

As a perfectionist with anxiety, there are very few things in life that I can say I’m actually proud of. But the save-the-dates we just sent out for our wedding? THOSE I am truly, unequivocally proud of. My heart was set on letterpress, but our budget was like… you’re joking, right? So what did I do this summer? I learned how to letterpress at home.
I’m tempted to say it’s easy, but I’d be lying. It’s hard until the inking technique clicks and then it’s completely doable — albeit tedious. But it’s 10000000% worth it.
Below, I’m sharing a LOT of details that are helpful if you want to get into letterpress. Those of you who are never gonna do it and are just here for vibes are welcome, too. <3
The Design:
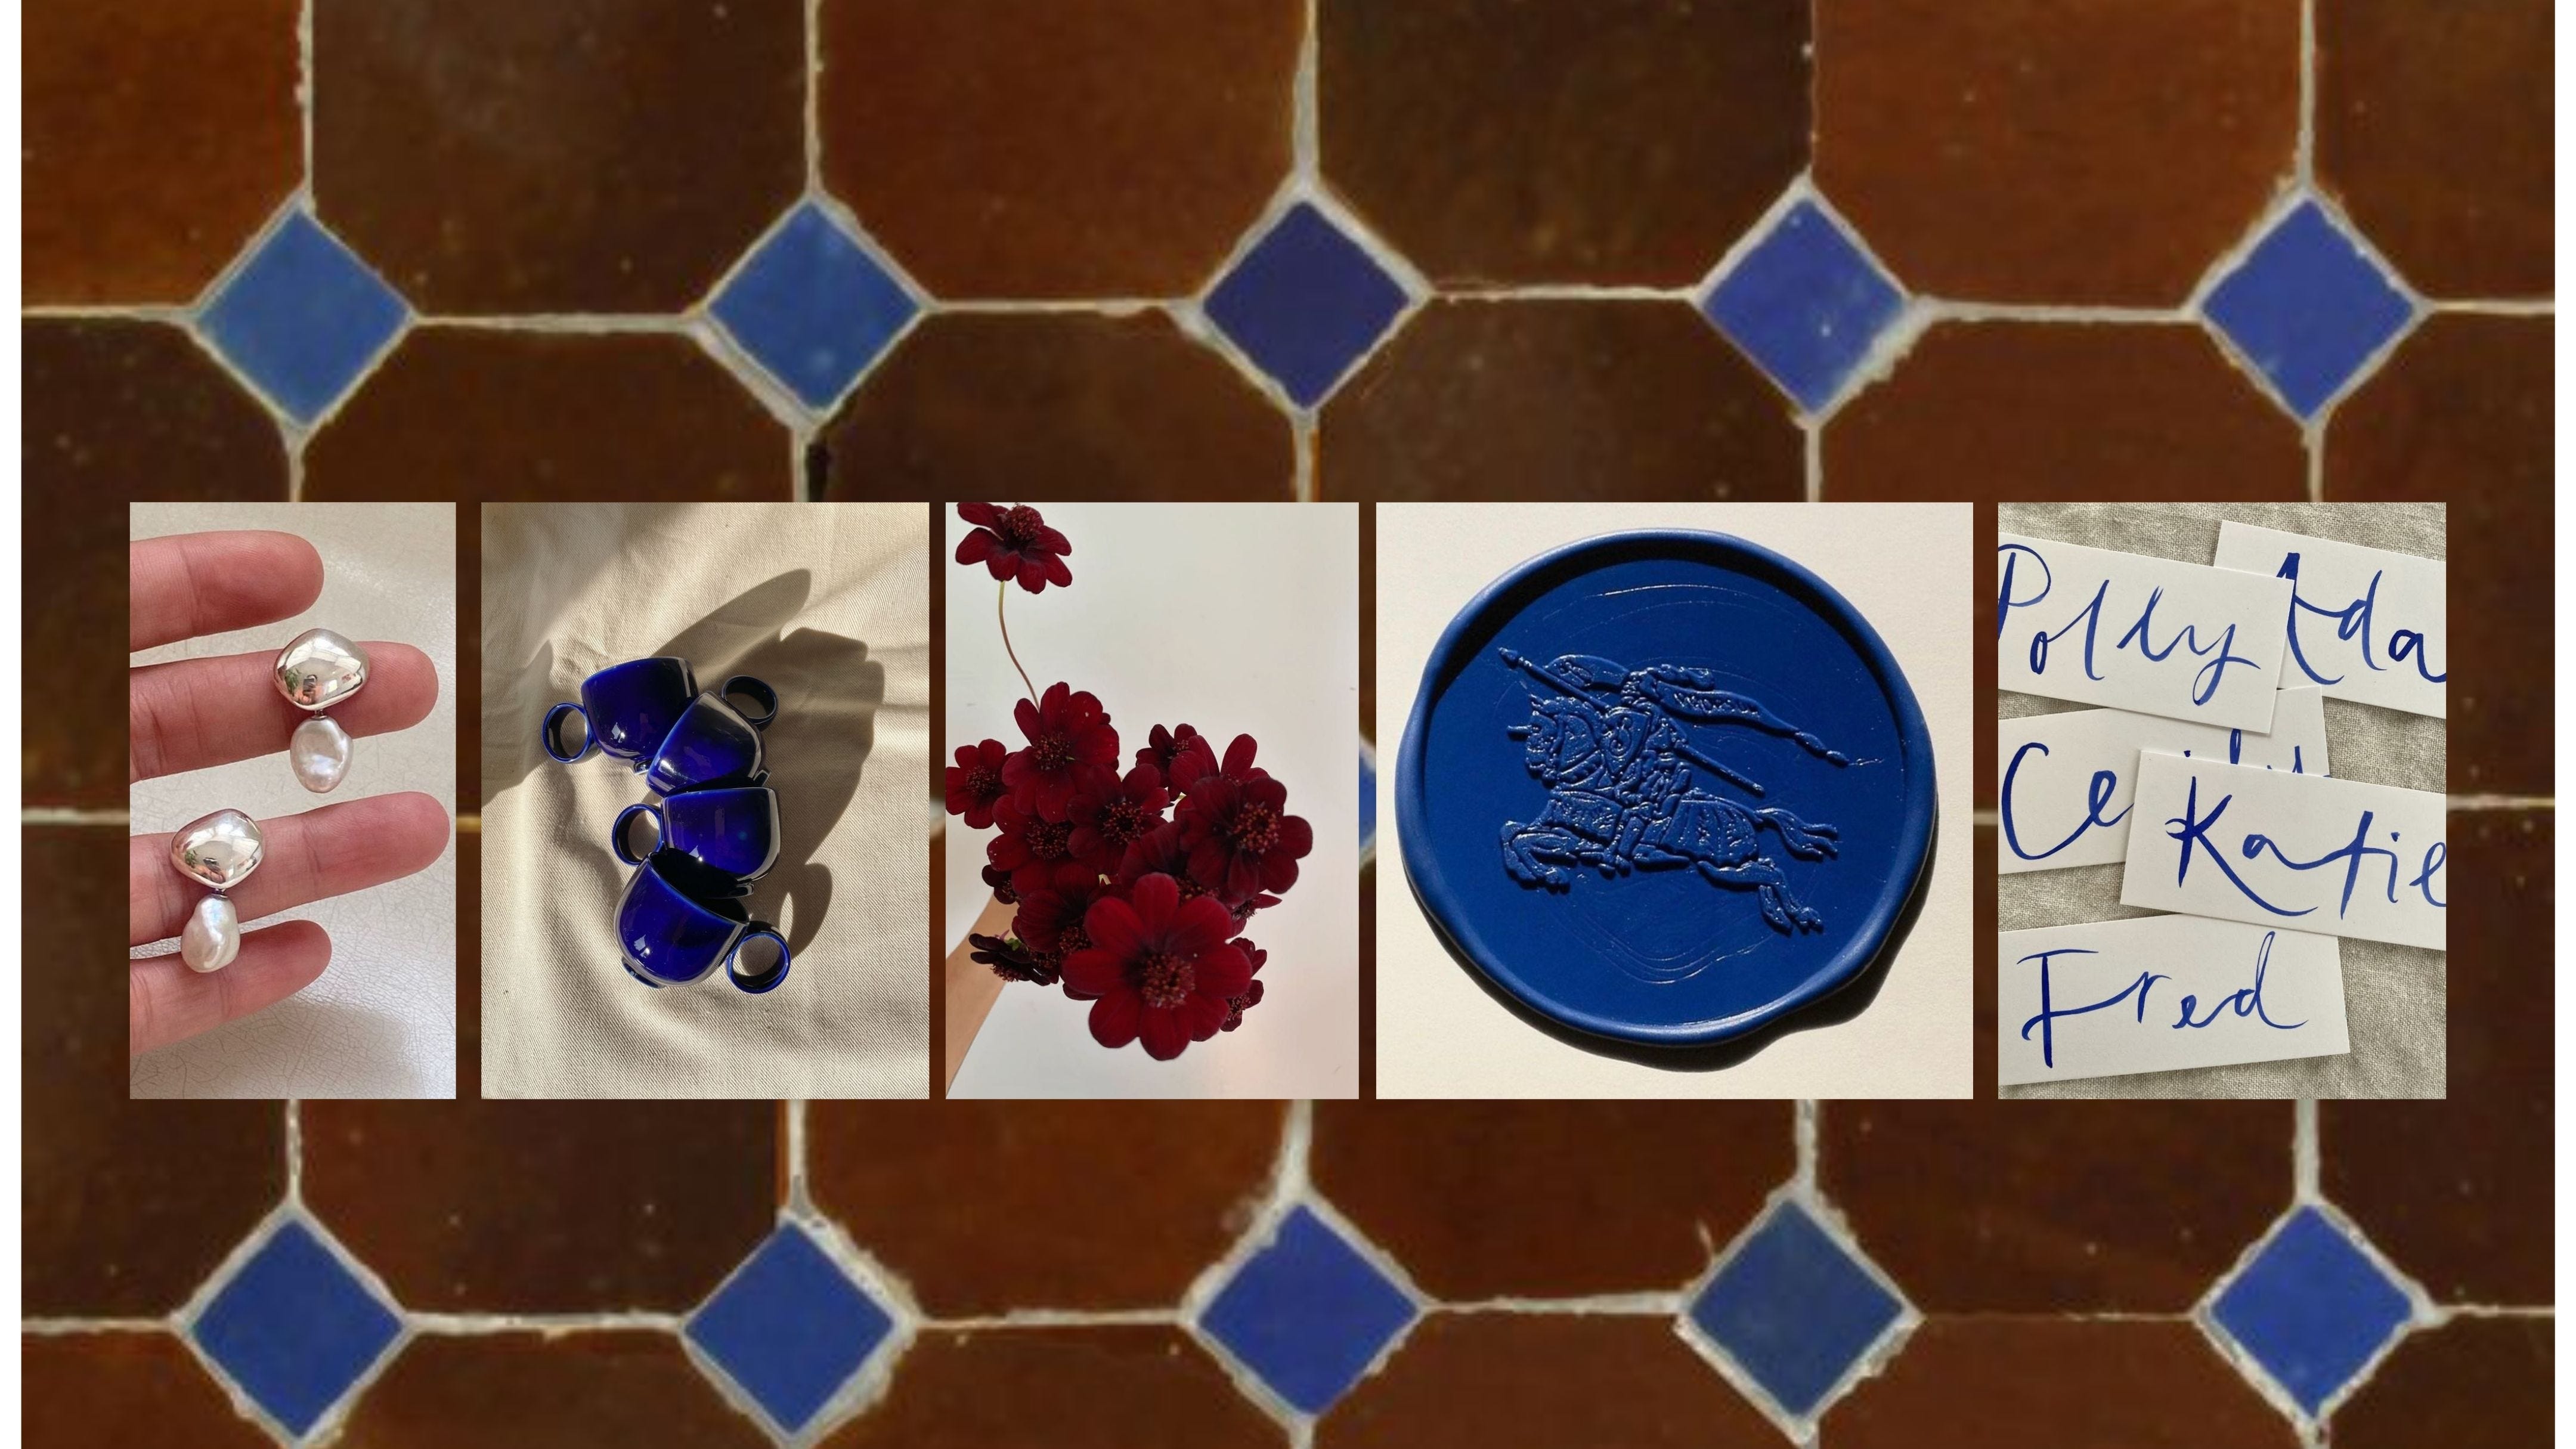
Katie is a very classy woman. She’s effortlessly responsible, and always has her makeup done. She loves symmetry and clean prose. I lean a little more whimsy: I like asymmetrical arrangements and warm colors. While our tastes can differ, they’re completely compatible. It was only natural to put one of her favorite colors next to one of mine and call it a wedding theme: cobalt blue + dark maroon.
The overall wedding inspo:
Taking those colors and vibes into consideration, I enlisted the help of my dear friend and graphic designer, Jinah Kim, who generously distilled all of that into the below design direction:
Keep reading with a 7-day free trial
Subscribe to Dilly Dally to keep reading this post and get 7 days of free access to the full post archives.