

Mary's Best Beans
PLUS Charred Lemon Flavor Bomb + my new favorite cooking utensils

This isn’t news to a majority of the world, but a few years ago, it was news to me: dried beans are magical. How is it possible that these cheap little rock-looking things cook down to something so creamy and tender, developing a sumptuous broth at the same time?? Beans definitely had their trendy, chef-y moment in the spotlight back in 2021, but I don’t think it sunk in with most people. And we need them now more than ever, because beans are the answer to eating deliciously in a recession.
For the cost of a ~$7-10 bag of dry beans (your price depends on how fancy the brand/grocery store is), plus a few produce and pantry staples, you’ll get at least eight healthy servings — and they freeze well, too.
While I already discussed some of my favorite bean recipes in a previous post, I didn’t share my own dried bean recipe. That’s a travesty. Not that there aren’t already GREAT bean recipes out there (there are), but most of them aren’t vegetarian-friendly. A lot of us who grew up with our parents making beans from scratch likely recall seeing giant ham hocks or chunks of chorizo thrown into pot. Delicious? Of course!! But beans in and of themselves are vegetarian and gluten-free, and I wanted to preserve that without compromising the flavor of the broth. Make sure you’re stocked up on olive oil and have plenty of time!
Mary’s Best Beans
It all starts with a bag of dried beans. You can use practically anything, but Rancho Gordo Pink Beans are my favorite. Start by picking out any shriveled, discolored, or broken ones. Rinse thoroughly.
I’m staunchly on team ‘soak your beans,’ even if just for a few hours. Heavily salt a big bowl of cool or room temperature water, pour in your rinsed beans, and soak for 3-8 hours (or overnight). This ensures a well seasoned and creamy bean.
After soaking, pour out the old water, and place beans in a large heavy-bottomed pot with clean water, covering them by a couple of inches. Salt the water with a couple big pinches of Diamond Krystal Kosher Salt. Turn burner on high to bring to a boil.
While that’s heating up, prepare your other ingredients:
Char half a lemon. Slice a Serrano pepper in half, lengthwise. Rinse a handful of leafy herbs (flat-leaf parsley or cilantro are perfect). Slice one large or 2 small shallots lengthwise. Place in pot.
Add to pot 1-2 parmesan rinds, 1 tbsp white miso paste, 3 whole cloves of garlic, black pepper to taste. Pour in olive oil until the entire surface of the water is covered.
Once boiling, turn down to a gentle simmer. Skim off any foam that may have developed and discard. Partially cover and cook 2-3 hours, stirring occasionally.
At the 2.5 hour mark, I like to taste the broth. Season it further as needed. Test bean done-ness by letting one cool and pinching it with your nail: if there’s resistance, it needs more cooking time. If it seems cooked through, give it a taste and make sure it’s completely creamy.
Right before serving, remove broth ingredients: any rinds, lemon, shallots, etc. Add a splash of Apple Cider Vinegar to the broth and stir.
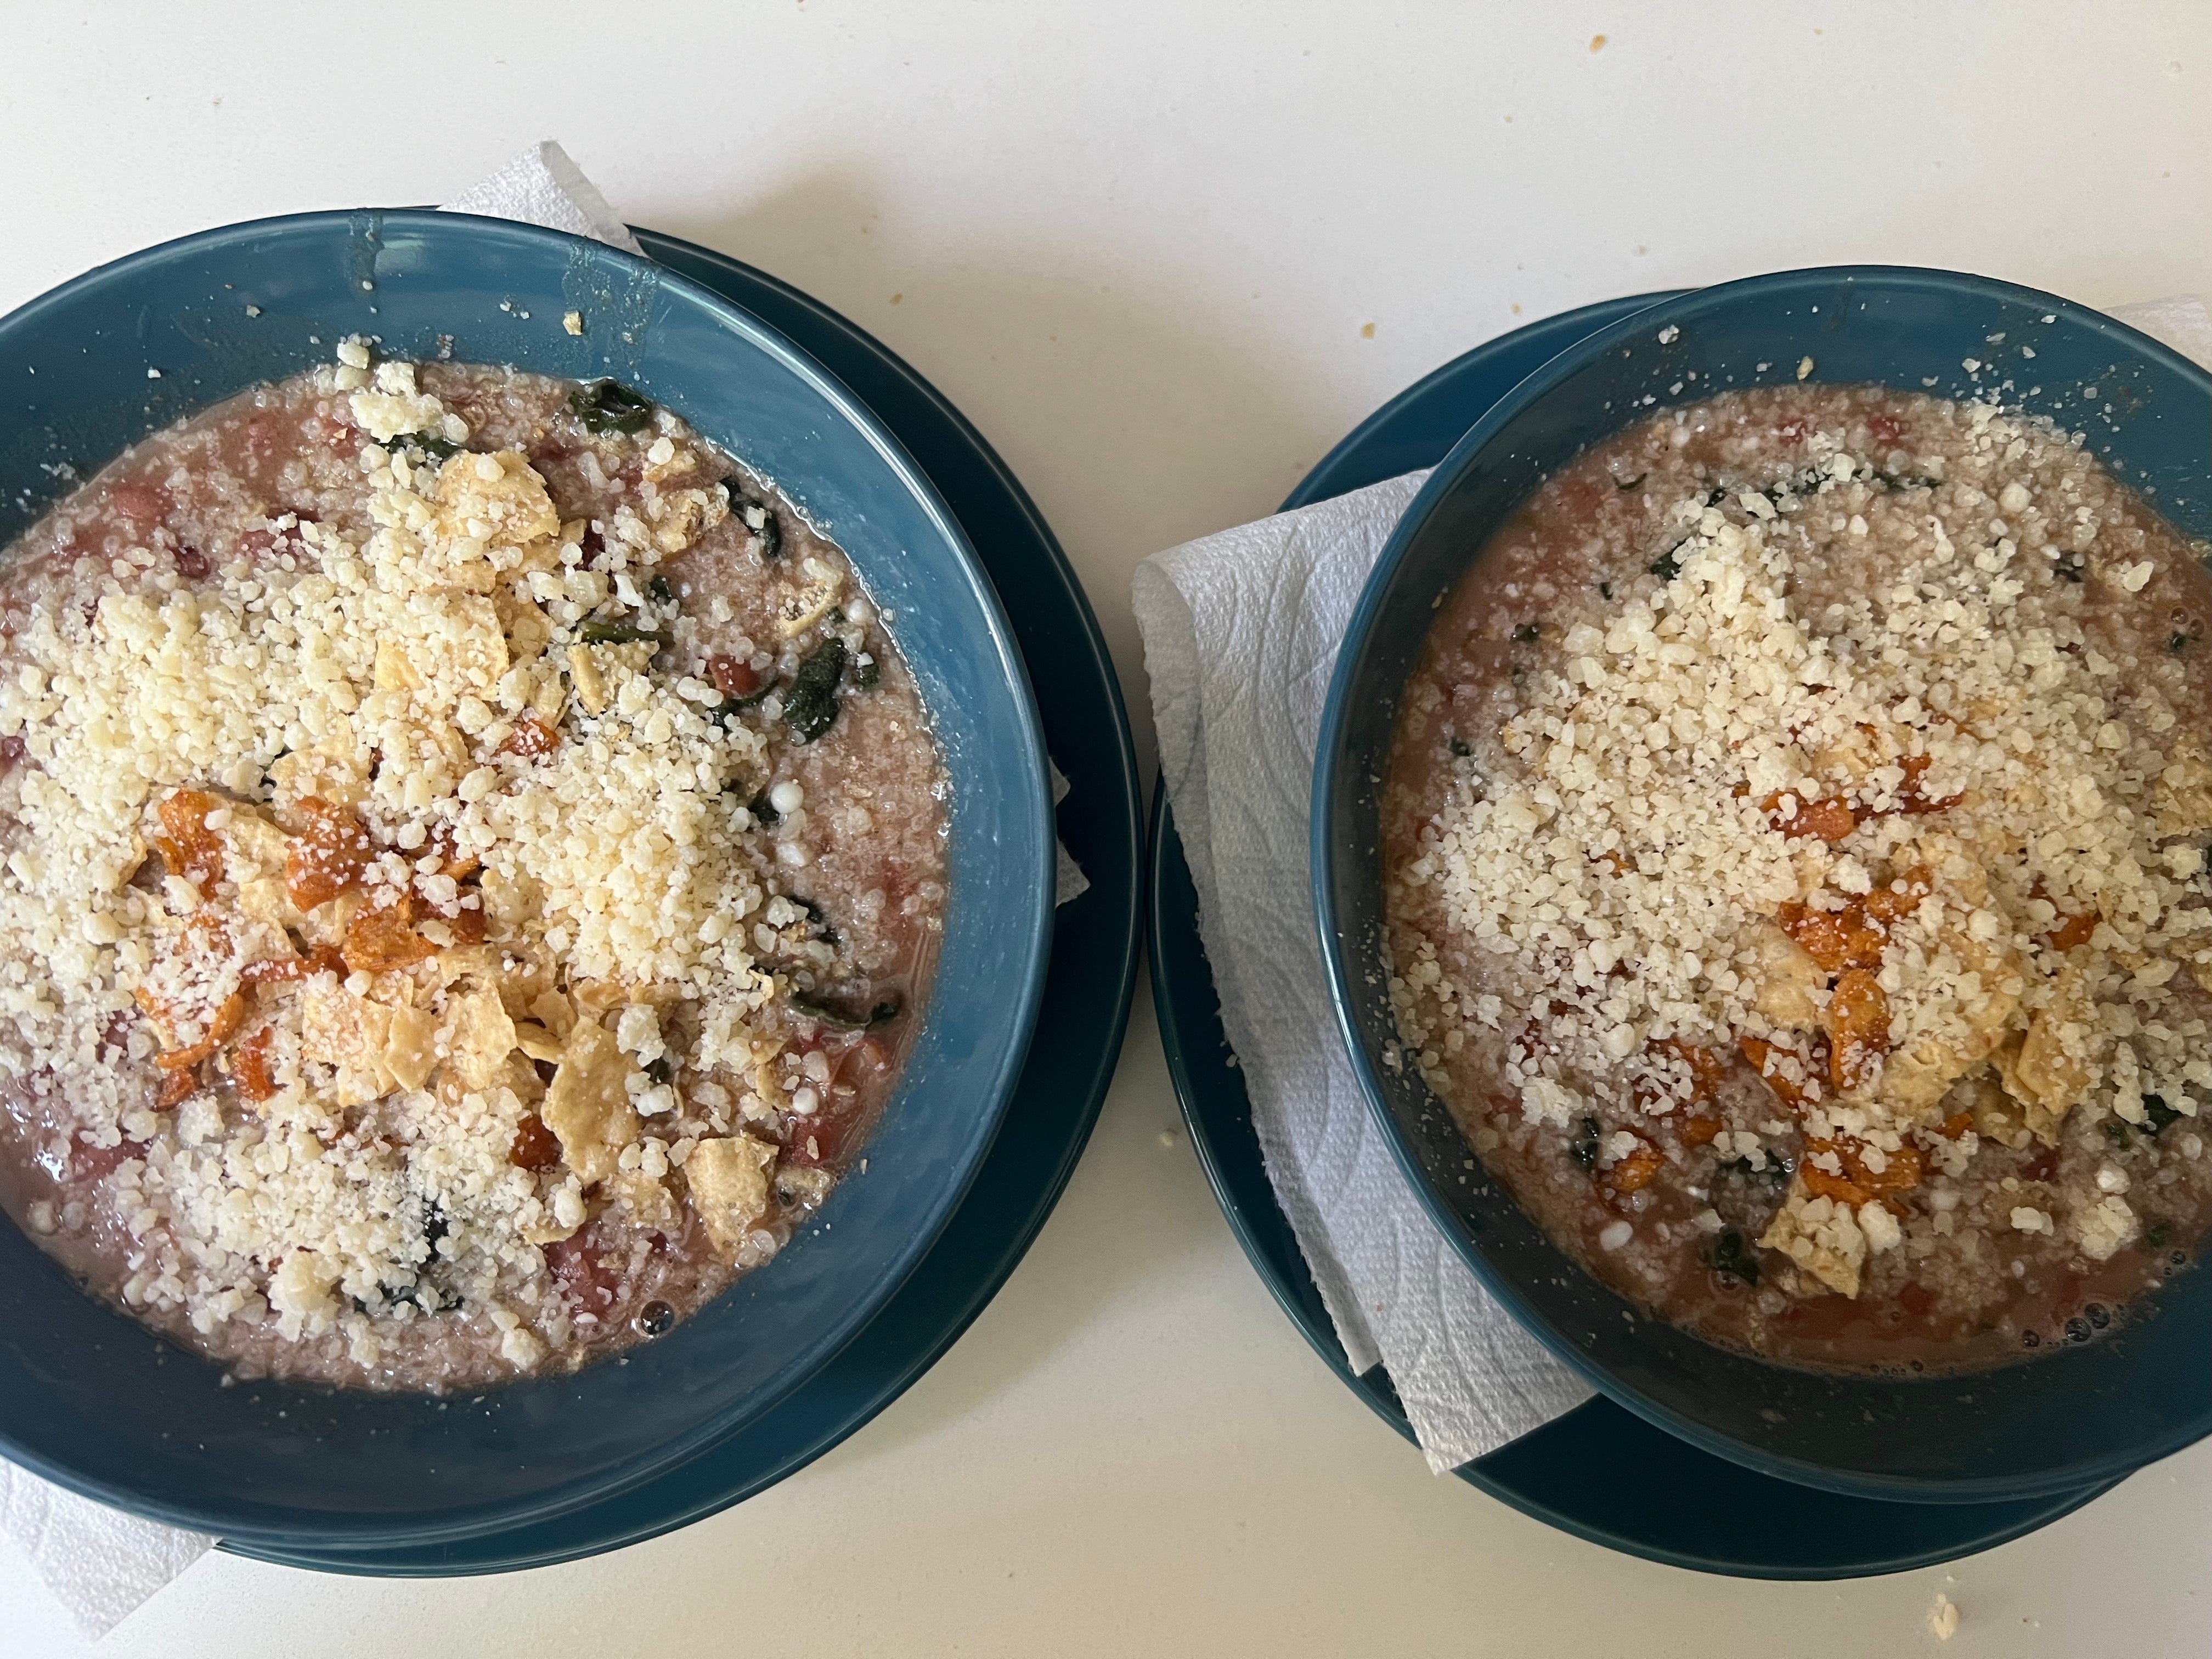
Serve with wilted greens, a dollop of Greek yogurt (or creme fraiche), crushed tortilla chips, these Spicy Fried Shallots, and a generous helping of grated parmesan.
Interested in leveling it up? Add this Charred Lemon Flavor Bomb:
A few weeks ago, I was looking for a way to add an extra punch to the beans for some dinner guests. I wanted something zingy, lemony, and savory, so I came up with the following charred lemon flavor bomb paste. Since then, I’ve used this in…. everything? Okay, not everything, but a LOT of things. A dollop of it goes a long way in a soup, combined with butter to top flakey fish, a base for salad dressing (which pairs particularly well with shaved brussels sprouts), or a topper for grilled veggies.
2 lemons
2 tbsp grated parmesan
1 tsp maple syrup
1 tbsp white miso paste
2 cloves garlic
1.5 tbsp white wine vinegar
black pepper to taste
Kosher salt to taste
Slice lemons cross-wise into thin slices. Remove seeds. Char each slice in a nonstick skillet until color develops.
Add charred slices with parmesan, maple syrup, miso paste, garlic cloves, white wine vinegar, and pepper to a blender, food processor, or container if you’re opting for an immersion blender. Blend thoroughly until it forms a somewhat chunky paste. Add a small pinch of kosher salt. Blend to combine. Taste for seasoning.
Keep it in the fridge for up to a few days.
Earlywood: The best cooking utensils in my kitchen
If you’re putting in the effort to make beans from scratch, you deserve the best tools to stir them. I am the luckiest girl in the entire world, because Katie gave me a full set of Earlywood cooking utensils for my birthday in March, and I can never go back. Wooden cooking utensils are superior because they will never melt or warp. They won’t damage your cookware. They might require a little extra care (i.e. no dishwasher and occasional oiling), but I promise it’s worth it. The unique shapes that Earlywood offers are perfect for all things flipping, stirring, tossing, and tasting. Here are my favorites (so far):

Wooden Tasting Spoon

She’s my go-to girl for tasting and sautéing anything sauce-y. Katie also uses this one to stir our green juice (more on that soon!).
Wooden Tongs

The perfect grabbers for anything, even delicate foods. These give you lots of control. You’re not gonna scratch your pan with them, and they’re also pretty enough to use as salad servers.
Large Flat Sauté

This the ultimate ‘everything’ tool. You can stir. Flip. Scrape. Scoop.
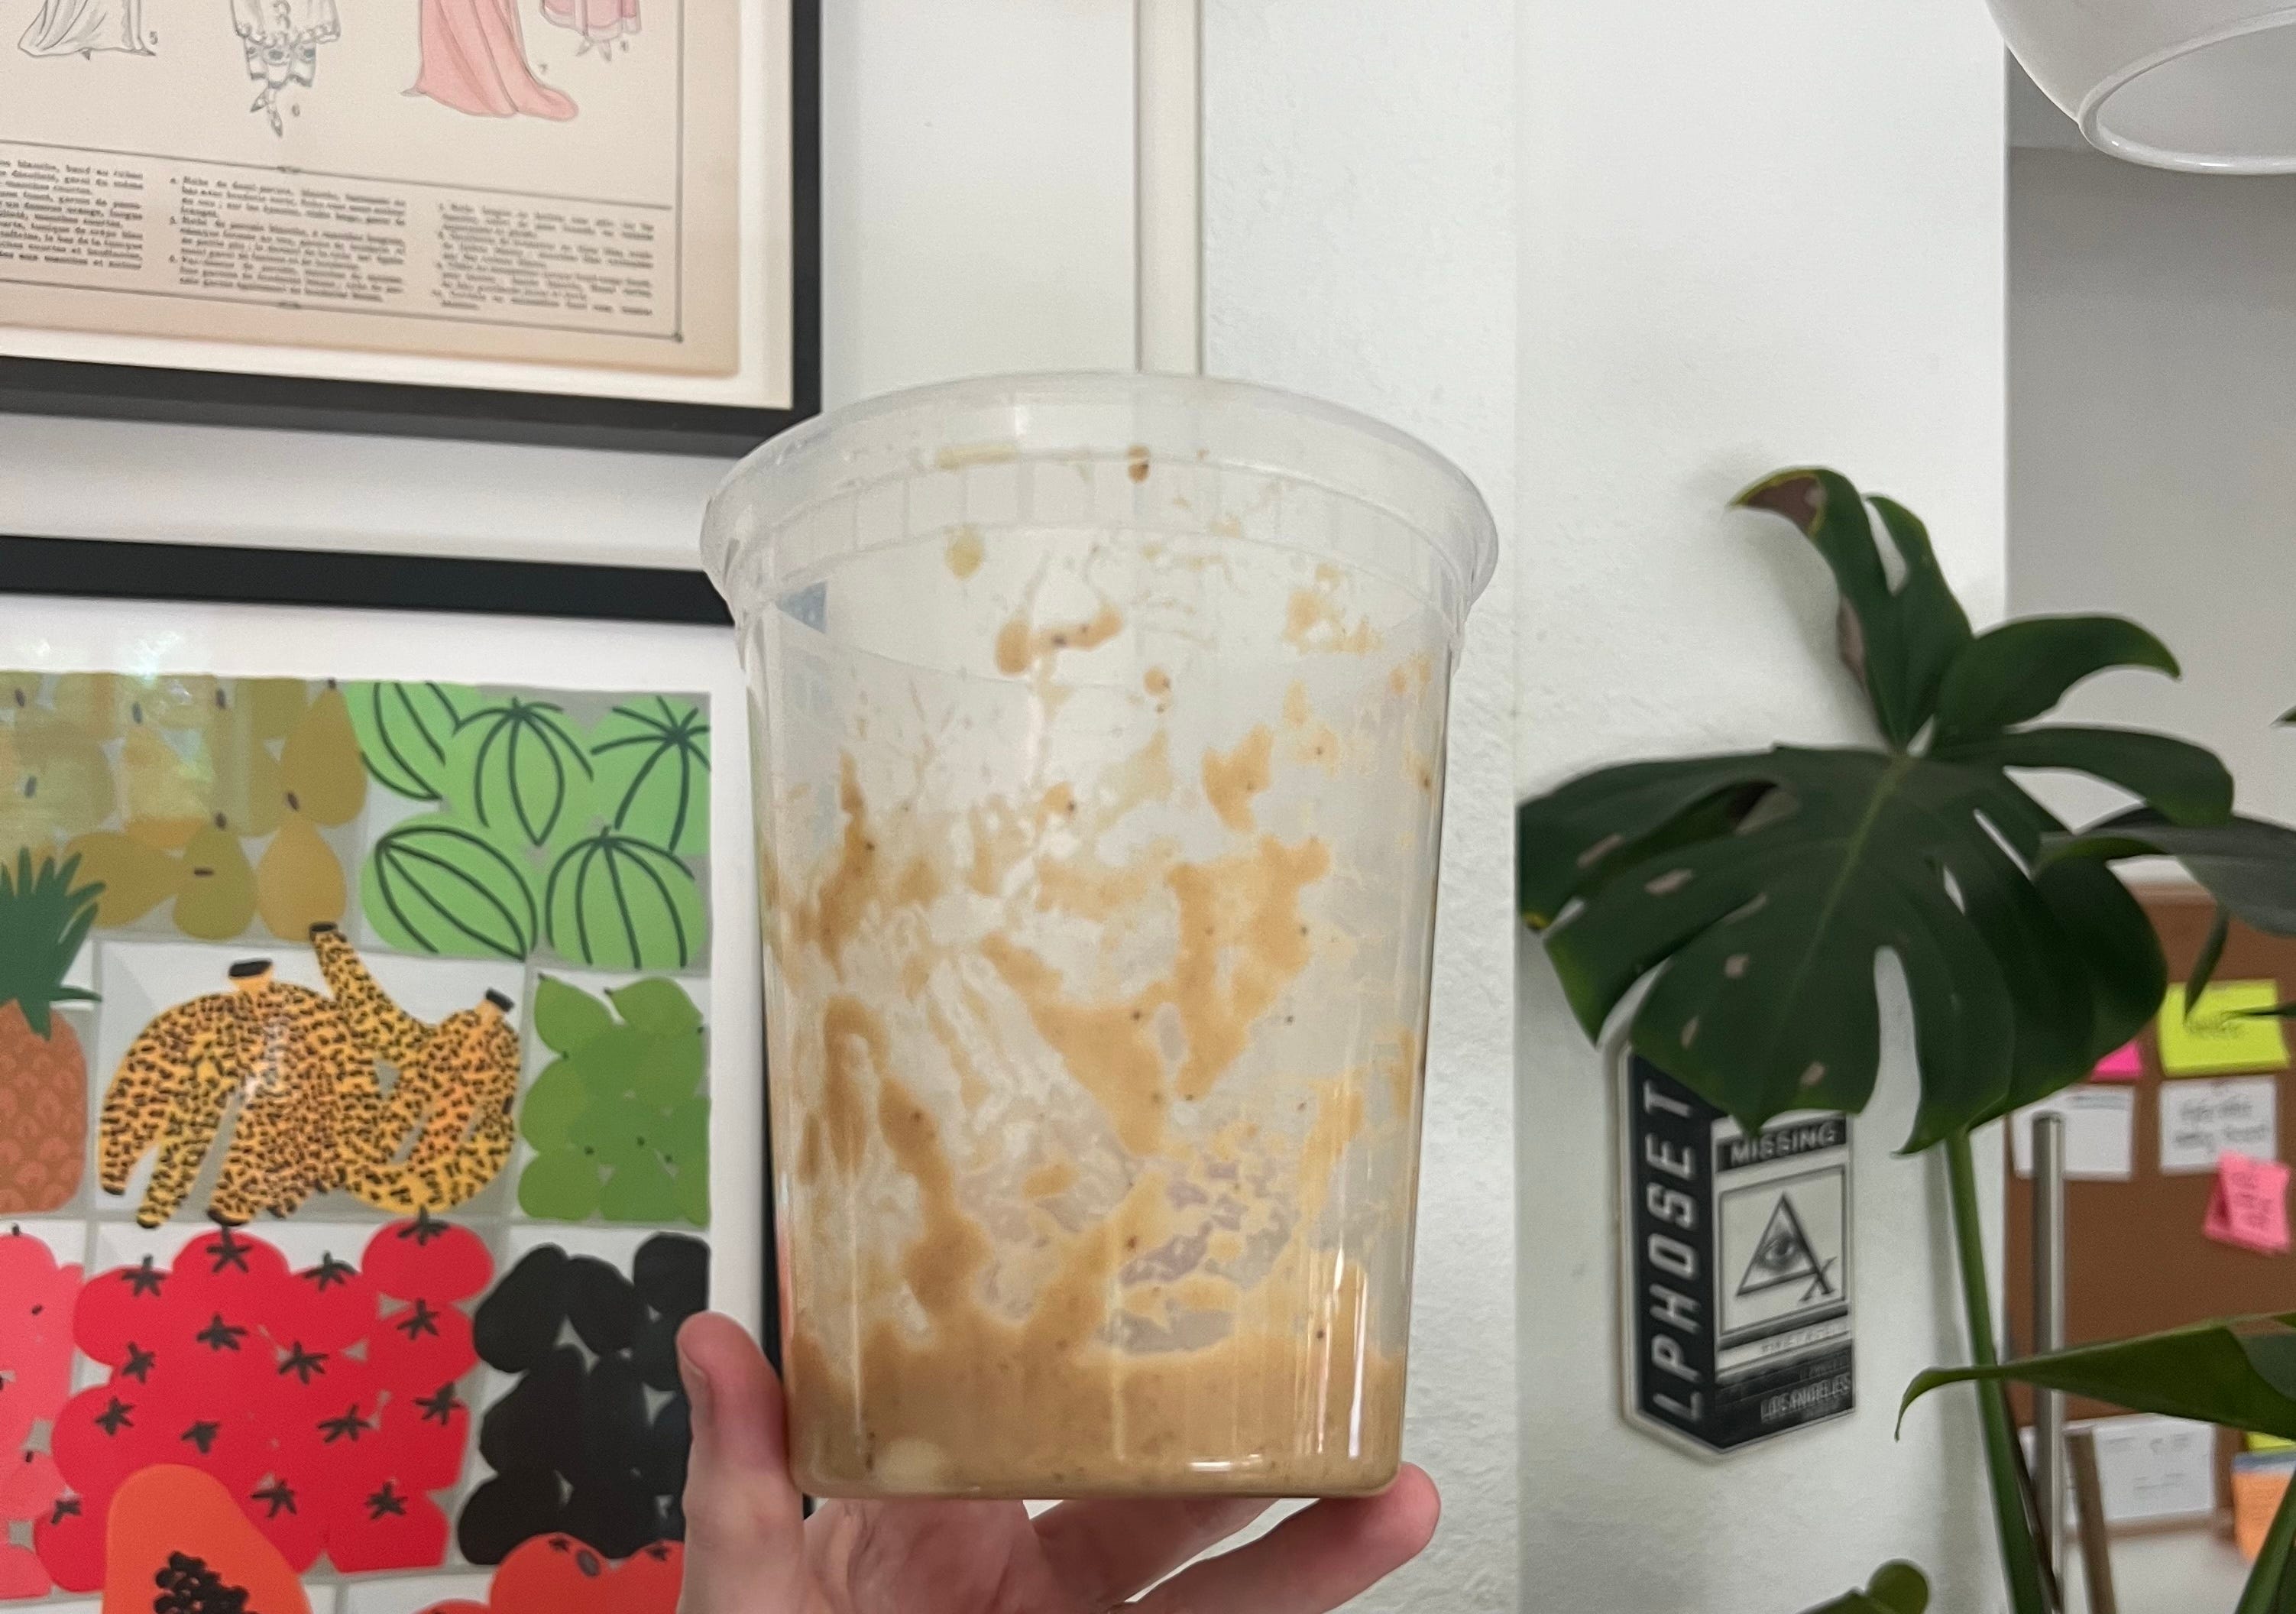
Did I mention that the beans freeze perfectly? I’ve got a container of them in my freezer right now that I can’t wait to eat for lunch.
Happy eating!
xx,
Mary